How to Configure the Contact Form and Add Additional Fields
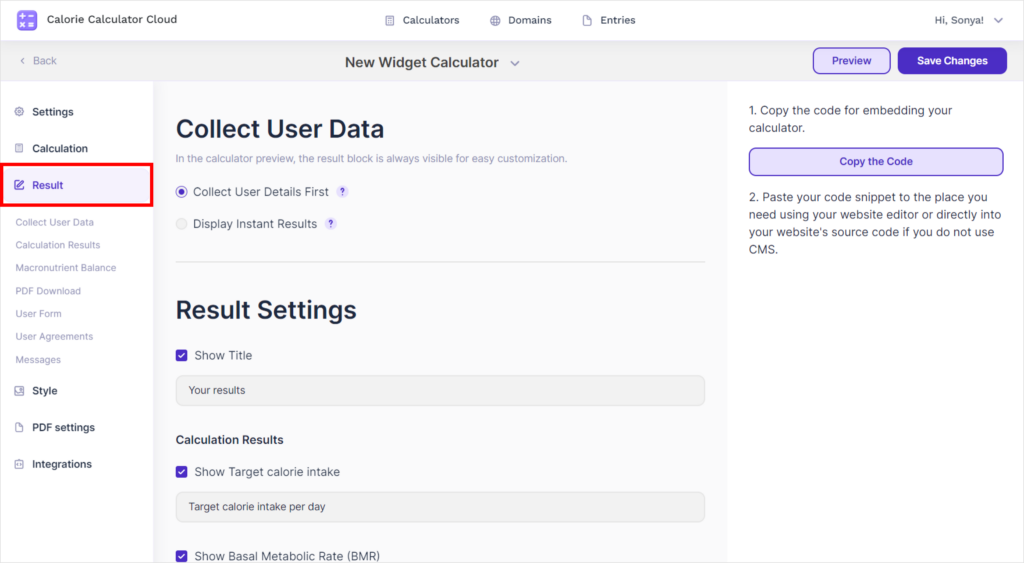
Step 1: Go to Calculator Settings
- Open the settings of your calculator.
Step 2: Select the Result Tab
- Navigate to the Result tab.
Step 3: Configure User Form Fields
- In the submenu, select User Form.
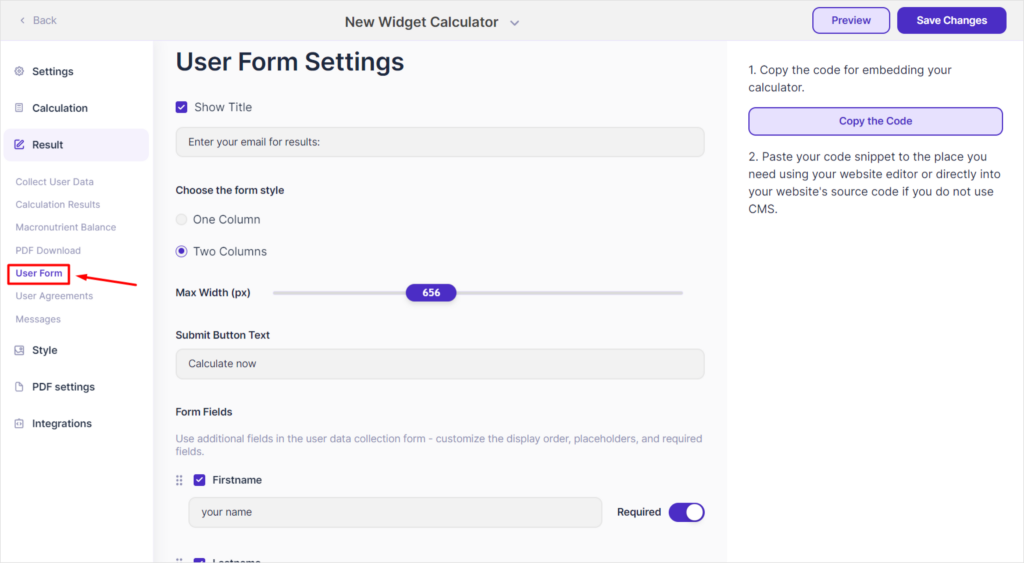
- Go to the form field settings.
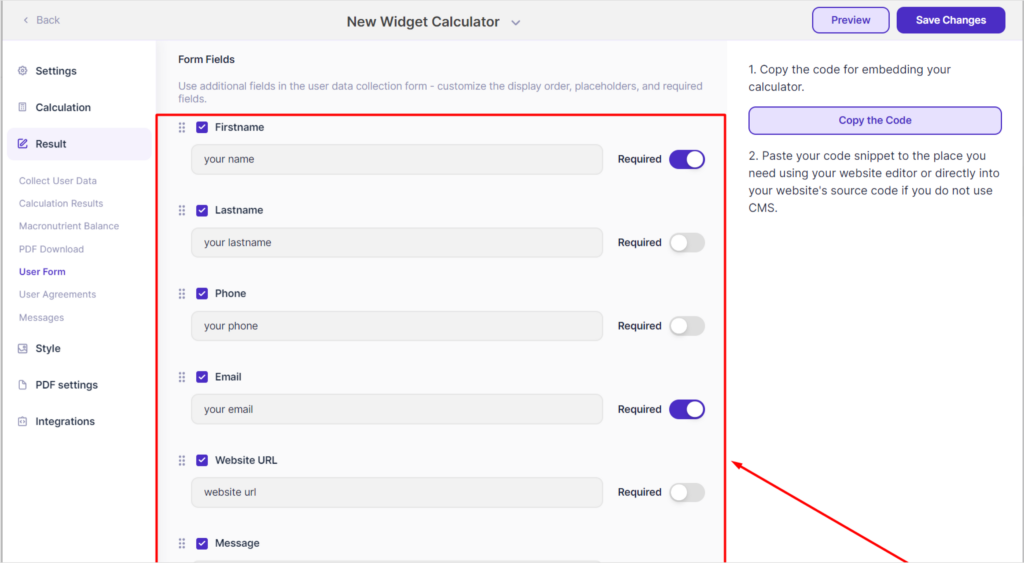
Step 4: Select Additional Fields
- Use the checkboxes to select the fields you want to include in the form. These can be:
- Phone number
- Age
- Website URL
- Message
- Any other information
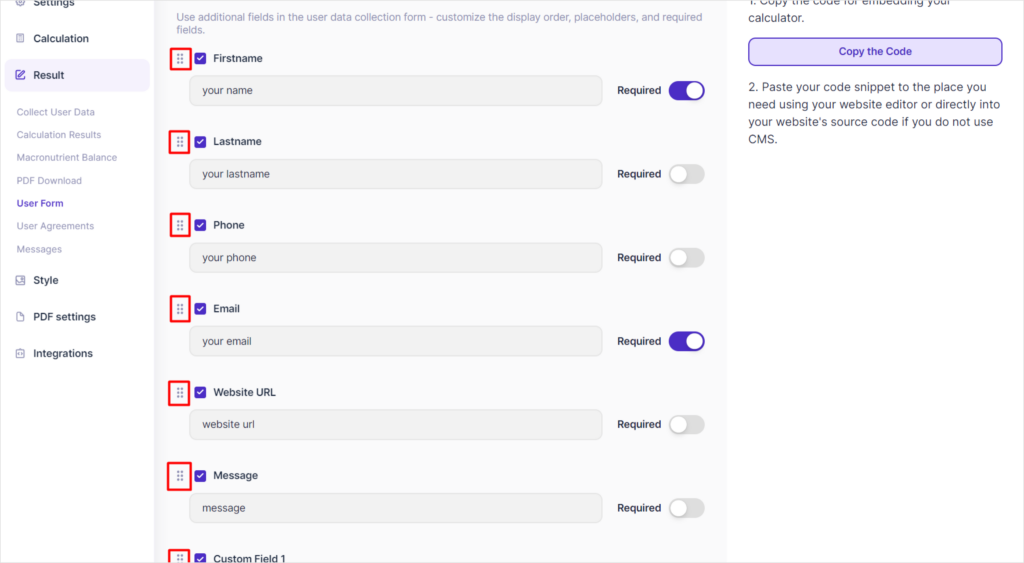
- You can change the order of the fields by holding the icon to the left of the checkbox and dragging it to the desired position.
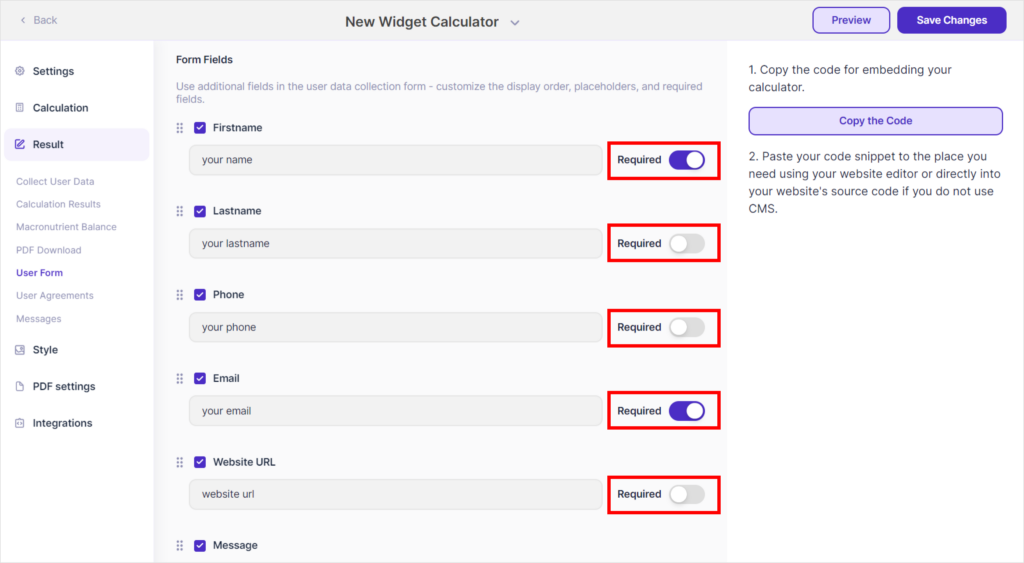
Step 5: Set Mandatory Fields
- To the right of each field, use the switch to set whether the field is mandatory.
- Mandatory fields mean that the user will not be able to submit the form until they fill in these fields.
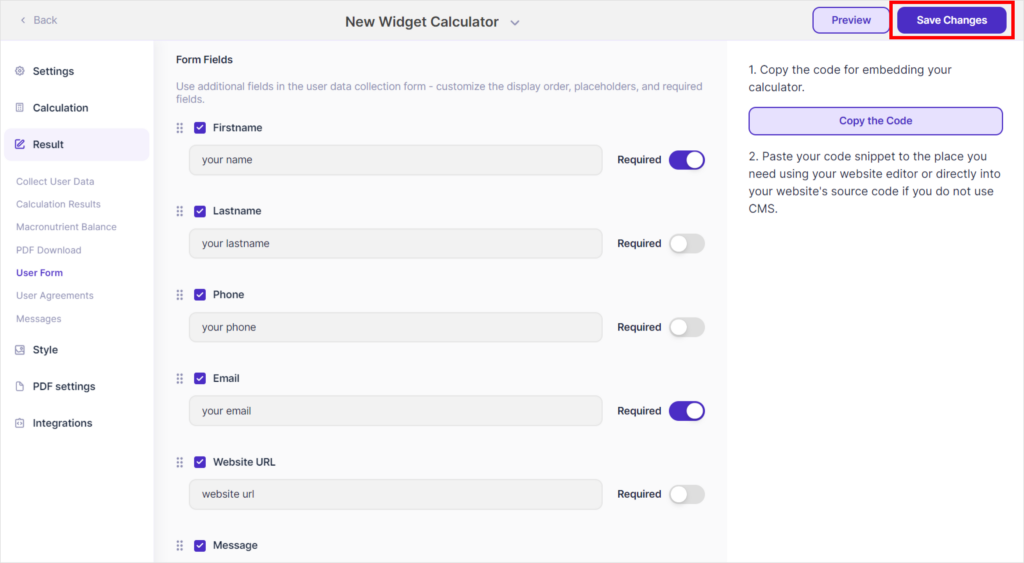
Step 6: Save Changes
- To save your changes, click the Save Change button in the upper right corner.
Now your contact form will include additional fields to gather the necessary information from users.